Installing Umami Analytics on an Unraid server
Umami is a simple and lightweight web analytics tool that respects user privacy and does not use cookies, making it a great alternative to third-party services like Google Analytics. Let me help you install Umami to your Unraid server using Docker Compose and Nginx - You won't be dissapointed!
Umami is a simple and lightweight web analytics tool that respects user privacy and does not use cookies. It can help you track the traffic and performance of your website without relying on third-party services like Google Analytics. In this blog post, I will show you how to install Umami analytics to an Unraid server using the docker compose unraid plugin.
Things needed for this project:
-
A website you would like to track analytics on.
-
A domain name you own. I purchase and manage mine through Namecheap. Note this can be the same domain as the above website.
-
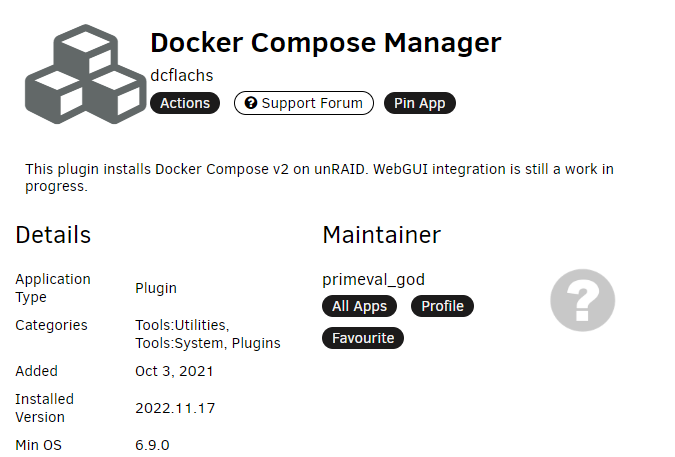
Docker Compose Manager The Docker Compose Manager Unraid plugin is a handy tool that allows you to use docker containers that don't have an Unraid template yet, easily and without needing to deal with docker-compose in your terminal. It simplifies the process of creating, updating and removing containers all in the Unraid GUI. You can install the plugin from the Community Applications tab in your Unraid web interface.

-
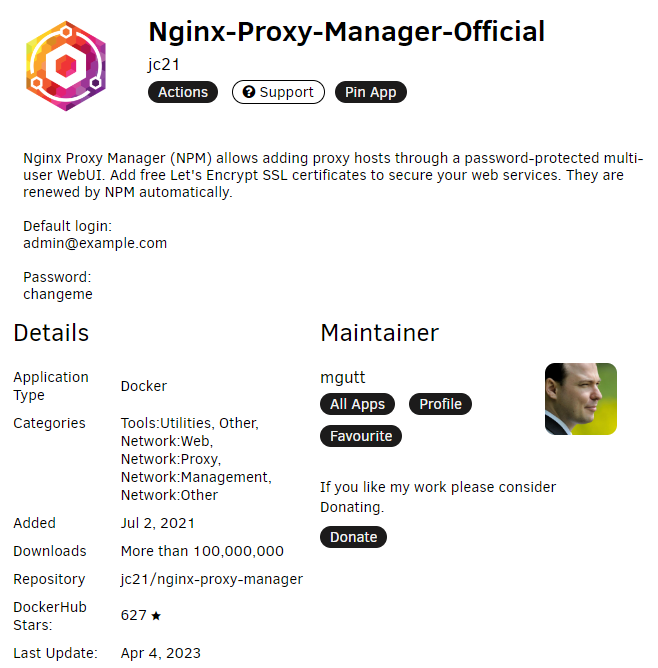
Nginx Nginx is an open source web server software that can also act as a reverse proxy, load balancer, and HTTP cache. It is designed to handle high concurrency and performance with low memory usage. In this project, Nginx will allow you to point the Umami tracking script on your website to the Umami instance you're running on your Unraid server. We will do this by creating a proxy host, pointing your local IP address for Umami to a public subdomain that you own.

Port forwarding
Okay, let's get started. First thing first, you need to forward three ports on your home network. I won't go in to how to do this as it is different for everyone depending on what hardware you use, but it is usually a very easily google-able question. You'll need to forward ports:
- 80 TCP, local Unraid IP - For Nginx HTTP
- 443 TCP, Local Unraid IP - For Nginx HTTPS
- 3000 TCP, Local Unraid IP - For Umami
Docker Compose and Umami compose file
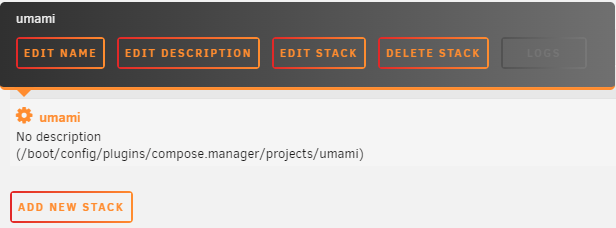
Now, install Docker Compose Manager by primeval_god through the docker Apps page. You'll see a new section at the bottom of your Unraid Docker tab titled "Compose". Click the Add new stack button, change the stack name to "umami". and hit save. You'll see it now under the Compose area. You're going to click the gear next to the Umami name, and then click on the Edit Stack option that appears.

Click the Compose File button, and paste in the following
version: '3'
services:
  umami:
    image: ghcr.io/umami-software/umami:postgresql-latest
    ports:
      - "3000:3000"
    environment:
      DATABASE_URL: postgresql://umami:umami@db:5432/umami
      DATABASE_TYPE: postgresql
      HASH_SALT: asdf34gwg4rgaSgw45
    depends_on:
      - db
    restart: always
  db:
    image: postgres:12-alpine
    environment:
      POSTGRES_DB: umami
      POSTGRES_USER: umami
      POSTGRES_PASSWORD: umamipassword
    volumes:
      - ./sql/schema.postgresql.sql:/docker-entrypoint-initdb.d/schema.postgresql.sql:ro
      - umami-db-data:/var/lib/postgresql/data
    restart: always
volumes:
  umami-db-data:
In this file, you need to replace some values with your own:
some_random_stringis a salt value that is used to hash user passwords. You can generate a random string using any online tool or just type something yourself.umamipasswordis the password for the PostgreSQL database user. You can change it to something more secure.
Hit Save, then Okay on the next window.
Open up the Edit Stack window again, and select Env File. Paste in the following:
DATABASE_URL=postgresql://umami:umamipassword@db:5432/umami
You have now created a Docker Compose file for Umami. When the Compose Up button is pressed, Umami and a Postgres database that stores the analytic data will spin up. Now you just need to get everything connected up to your website!
Setting up DDNS for your domain
Follow the guide I've written here to set up Dynamic DNS, allowing your server to stay online and public facing even if your public IP address changes. This is very important!
Setting up Nginx
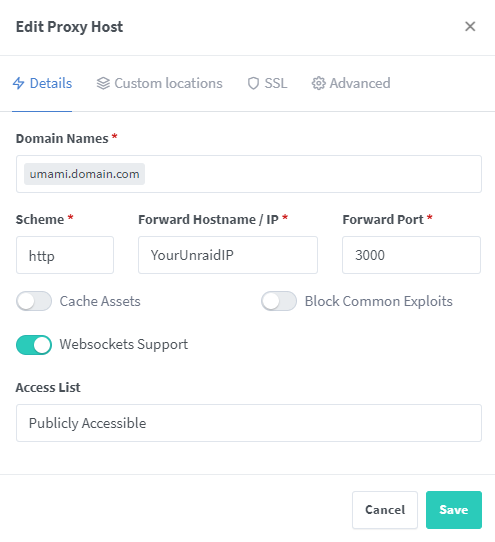
Now we need to point your domain name to your Umami server. To do this, open up Nginx by going to http://your-unraid-ip:81. Sign in with the default user and password and create a new account. We will be creating a proxy host, so click on that option on your dashboard. Click Add Proxy Host, and under Domain Names put whatever subdomain for the DDNS domain you set up earlier you would like - for example, umami.domain.com. Set Scheme to http, and Forward Hostname/IP to the IPv4 of your unraid server. Set Forward Port to 3000, which is the port Umami runs on. Check Websockets Support, and ensure Access List is Publicly Accessible.

Go to the SSL tab, and select Request new SSL Certificate from the dropdown. Check the Force SSL option, and you're all done! Try going to the subdomain you set to make sure you're greeted by the Umami login page. If you are, you've done everything right and now have a public facing Umami instance hosted on your Unraid server!
Adding tracking script to your website
Open up http://umami.yourdomain.com and log in. Go to the Settings tab at the top. Add your website, and click the Get tracking code button. This is the script that will track users on your website, so paste it in to your source code somewhere in the header or look up documentation on where to put it for your template/theme.
![]()
Done!
Congratulations! You have successfully installed Umami on your Unraid server using Docker Compose and Nginx Proxy Manager. You can now start respectfully tracking your website analytics!